So, our adventure has begun and we now are sailing toward a new horizon of artistic ability. However, as we move into the 3D world, there are a couple of major keys we must have with us. These are an inner perception of depth and volume. Even if we may have the goal of working more in the 2D realm (with cartoon, animation, or comic style), these types of perception are still hugely necessary to grasp, specifically when it comes to lighting our objects and scenes! (With 2D specifically, this will be a big boost in the believability of our artwork, which we will cover more in later posts.) However, there is one more level of perception that guards the gate for us to get to those; it’s the simple but vastly applicable concept of curvature. This concept will be our focus here in part 2.
PART 2

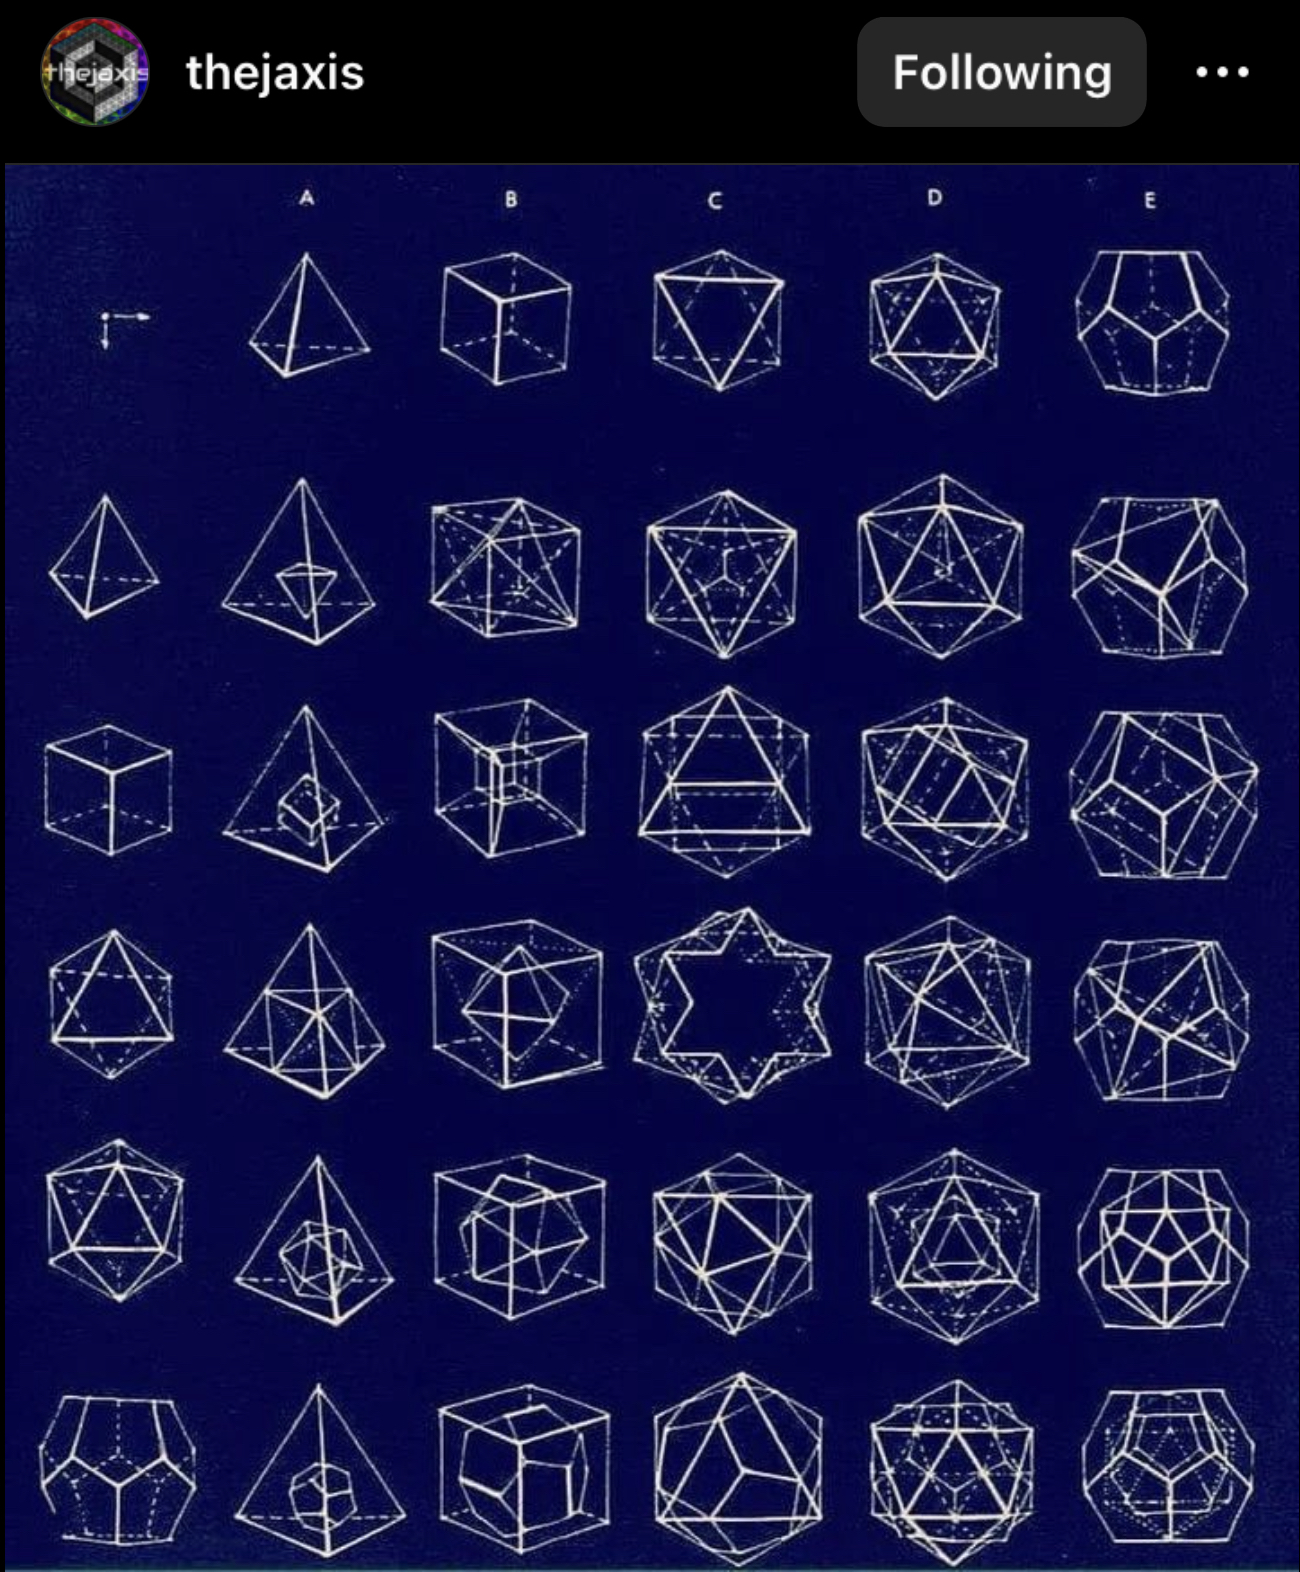
Now, after the previous lesson, you may have noticed a few fundamental shapes missing. This is mainly because when it comes to three dimensions, flat planes are much easier to perceive and understand quickly, especially in relation to light. But now that we have gone through the basics of those, it’s time to take it up a notch; it’s now time for the curved planes.
THE NEXT STEP

Displayed above are the few missing fundamental 3D shapes from our previous lesson. These shapes are the Cone (top left), the Cylinder (top right), and the Sphere (bottom). Also nearby each of these examples are the aforementioned methods of construction, with the same color-coded “Order of Lines.” However, when we get to the sphere examples, we may notice a bit of a sticking point. We can see the curvature of the shapes happening in these examples; but how do our minds go from the flat 2D plane of a circle and its straight lines, to naturally perceiving this curvature of space and volume, without seeing it first? The trick of this question is that we think too much about what is happening, but our minds already do it, even though we don’t perceive it. The how is the answer we want here, and it is simpler than we might assume. The answer is in the concept of Contour, and we will return to that in part 3. First, however, we should take a small step back to get a little fuller understanding of curvature first.
LEARNING (THE) CURVE

When it comes to observable nature, curvature is constantly apparent. In fact, nature, as we observe and experience it directly, rarely “uses straight lines.” Basically, most forms we can perceive with our eyes in nature have some kind of curve or contour to them, beit plants, animals, humans, etc. As mentioned in our very first lesson (“Starting Line”), the line is part of the foundation for all visual understanding. This is true with curves as well, so what then are the possibilities for these curves? Well, as we can see below, there are two styles these lines manifest as; these are called “S” and “C” curves, since they resemble the letters of the English alphabet. All curves we come into contact with visually are a variation, or combination, of these two types.

Above is an example of the different directions these types of curved lines can move in, and like anything else we do here, a holistic perception of these lines should be developed through exercise. In other words, we should memorize each possible direction these curved lines can move in on a page, with our hands and minds, as much as we’re capable. However, a complete understanding of these curves cannot be developed through practice with these lines alone. This brings us to our next method of exercise, Form Sculpting.
SCULPTING

Here is where the more fun and creative parts of this lesson start to come into play! As shown in the examples above, this exercise consists of taking our newly learned curve variations (the ‘S’ and ‘C’ lines) and integrating them into our fundamental, flat 3D shapes! This diagram of examples below is split into three sections: the top half shows the different curve types and some possible directions, the middle shows the application of one of the ‘S’ curves to our fundamentals, and the bottom shows the ‘C’ curve lines applied to those same fundamental shapes.

To apply these exercises properly, these curved lines should be treated just like the “guideline” method mentioned in part 1 of this lesson; this can be drawn over top of the shape, above, beside, etc. Then the line(s) directly parallel to this curve should be made identical to it (as the dashed arrows show). There is also a brief example in the bottom ‘C’ curve section, demonstrating that not only one, but two or more curves can be applied to a single shape. These curves can face toward or away from each other, the choice is ours!
Now, when looking closer you might notice that a couple of the more complex shapes (that have many, or oddly angled planes) show that underlay of “light weight” lines. I did this as a light reminder to continue using the “Order of Lines” method as much as necessary while practicing these exercises, as there can be a bit of a learning curve (pun intended) necessary before feeling fully comfortable. There’s no shame in drafting any single one of your drawings, our priority at this stage is still understanding, not presentation.
FULL CIRCLE

Speaking of understanding, now that we have a little better grasp of curvature, let’s revisit the sphere examples from the start of this lesson. As you may have noticed at the beginning of this, I denoted the terms “depth” and “volume” to be very important for us moving forward, as they are deeply related (along with curvature). The sphere, I believe, is the epitome of these concepts, and I will provide a full explanation of this in our third and final part of this lesson. In conclusion here, as always, the above exercises should be practiced often. Now that we have a few different exercises in our “tool bag,” it is good to make note here to practice discernment. The number of exercises possible to do will increase as our skills increase, but the number of exercises necessary to do will decrease, in relativity to the path we choose to follow or carve out for ourselves. The “Form Sculpting” exercise shown here, for instance, is a step up in difficulty from the basic construction exercises of part 1, and as such can replace those previous tools now for more applicable current ones (only when full confidence and easy memory of them is achieved). Do not try to progress too quickly, pride cannot help you here, only honest practice. With that, we will return here in a few weeks with the final part of “Shape Up 3D,” with exercises that will fully solidify our perception of these 3D fundamentals.
One response to “– LESSON 3: SHAPE UP (3D) PT. 2 –”
Awesome lessons!