Welcome to our first gallery of applied practices! In our previous [4th] lesson, we covered the latest steps in our journey; these “sculpting” exercises are the integration of all our previous lesson exercises into one. As I’ve mentioned before, the whole point of how these exercises work and interact is meant to be dynamic in this way. These exercises are less of a strict guideline and more of a growing and changing framework, to help us not just consciously but intuitively understand what drawing (creating visual art in general) even is.
I wanted to reiterate the above to say this; this section is not a show-and-tell gallery, or one for passive fancy and leisure. Each drawing on these pages is purposeful, and speaks a message all its own, simply by existing. Remember, art is a form of communication. Please do not scroll through these examples passively, but rather treat it as you would opening the beginning of a riddle or a cypher. These images are speaking to you, let them do so. Return to them often, just as you should with your own past practices. Do not settle merely for my explicit descriptions and notes of these illustrations; while they will be helpful, they can never replace your intentional openness to learn deeply. You might just uncover an even greater lesson for yourself than I could write to you.
With all that being said, it is my pleasure to give you a peek into my personal sketchbooks, practice, and essentially, my own mind.
(NOTE) – Within these sketchbooks are some written notes, I encourage zooming in and reading them, as they add helpful insight into self criticism. Many mistakes you’ll see are not erased, but simply circled/noted to direct where further practice attention should be paid. I think this method is more helpful than erasure, as a visible hurdle is easier to clear. Another is that in this gallery of examples you will see techniques I use that may be a little more advanced than the current level of lessons, that’s partly on purpose to give you a glimpse of the coming skills we will be applying with the lessons so far.
METHOD 1

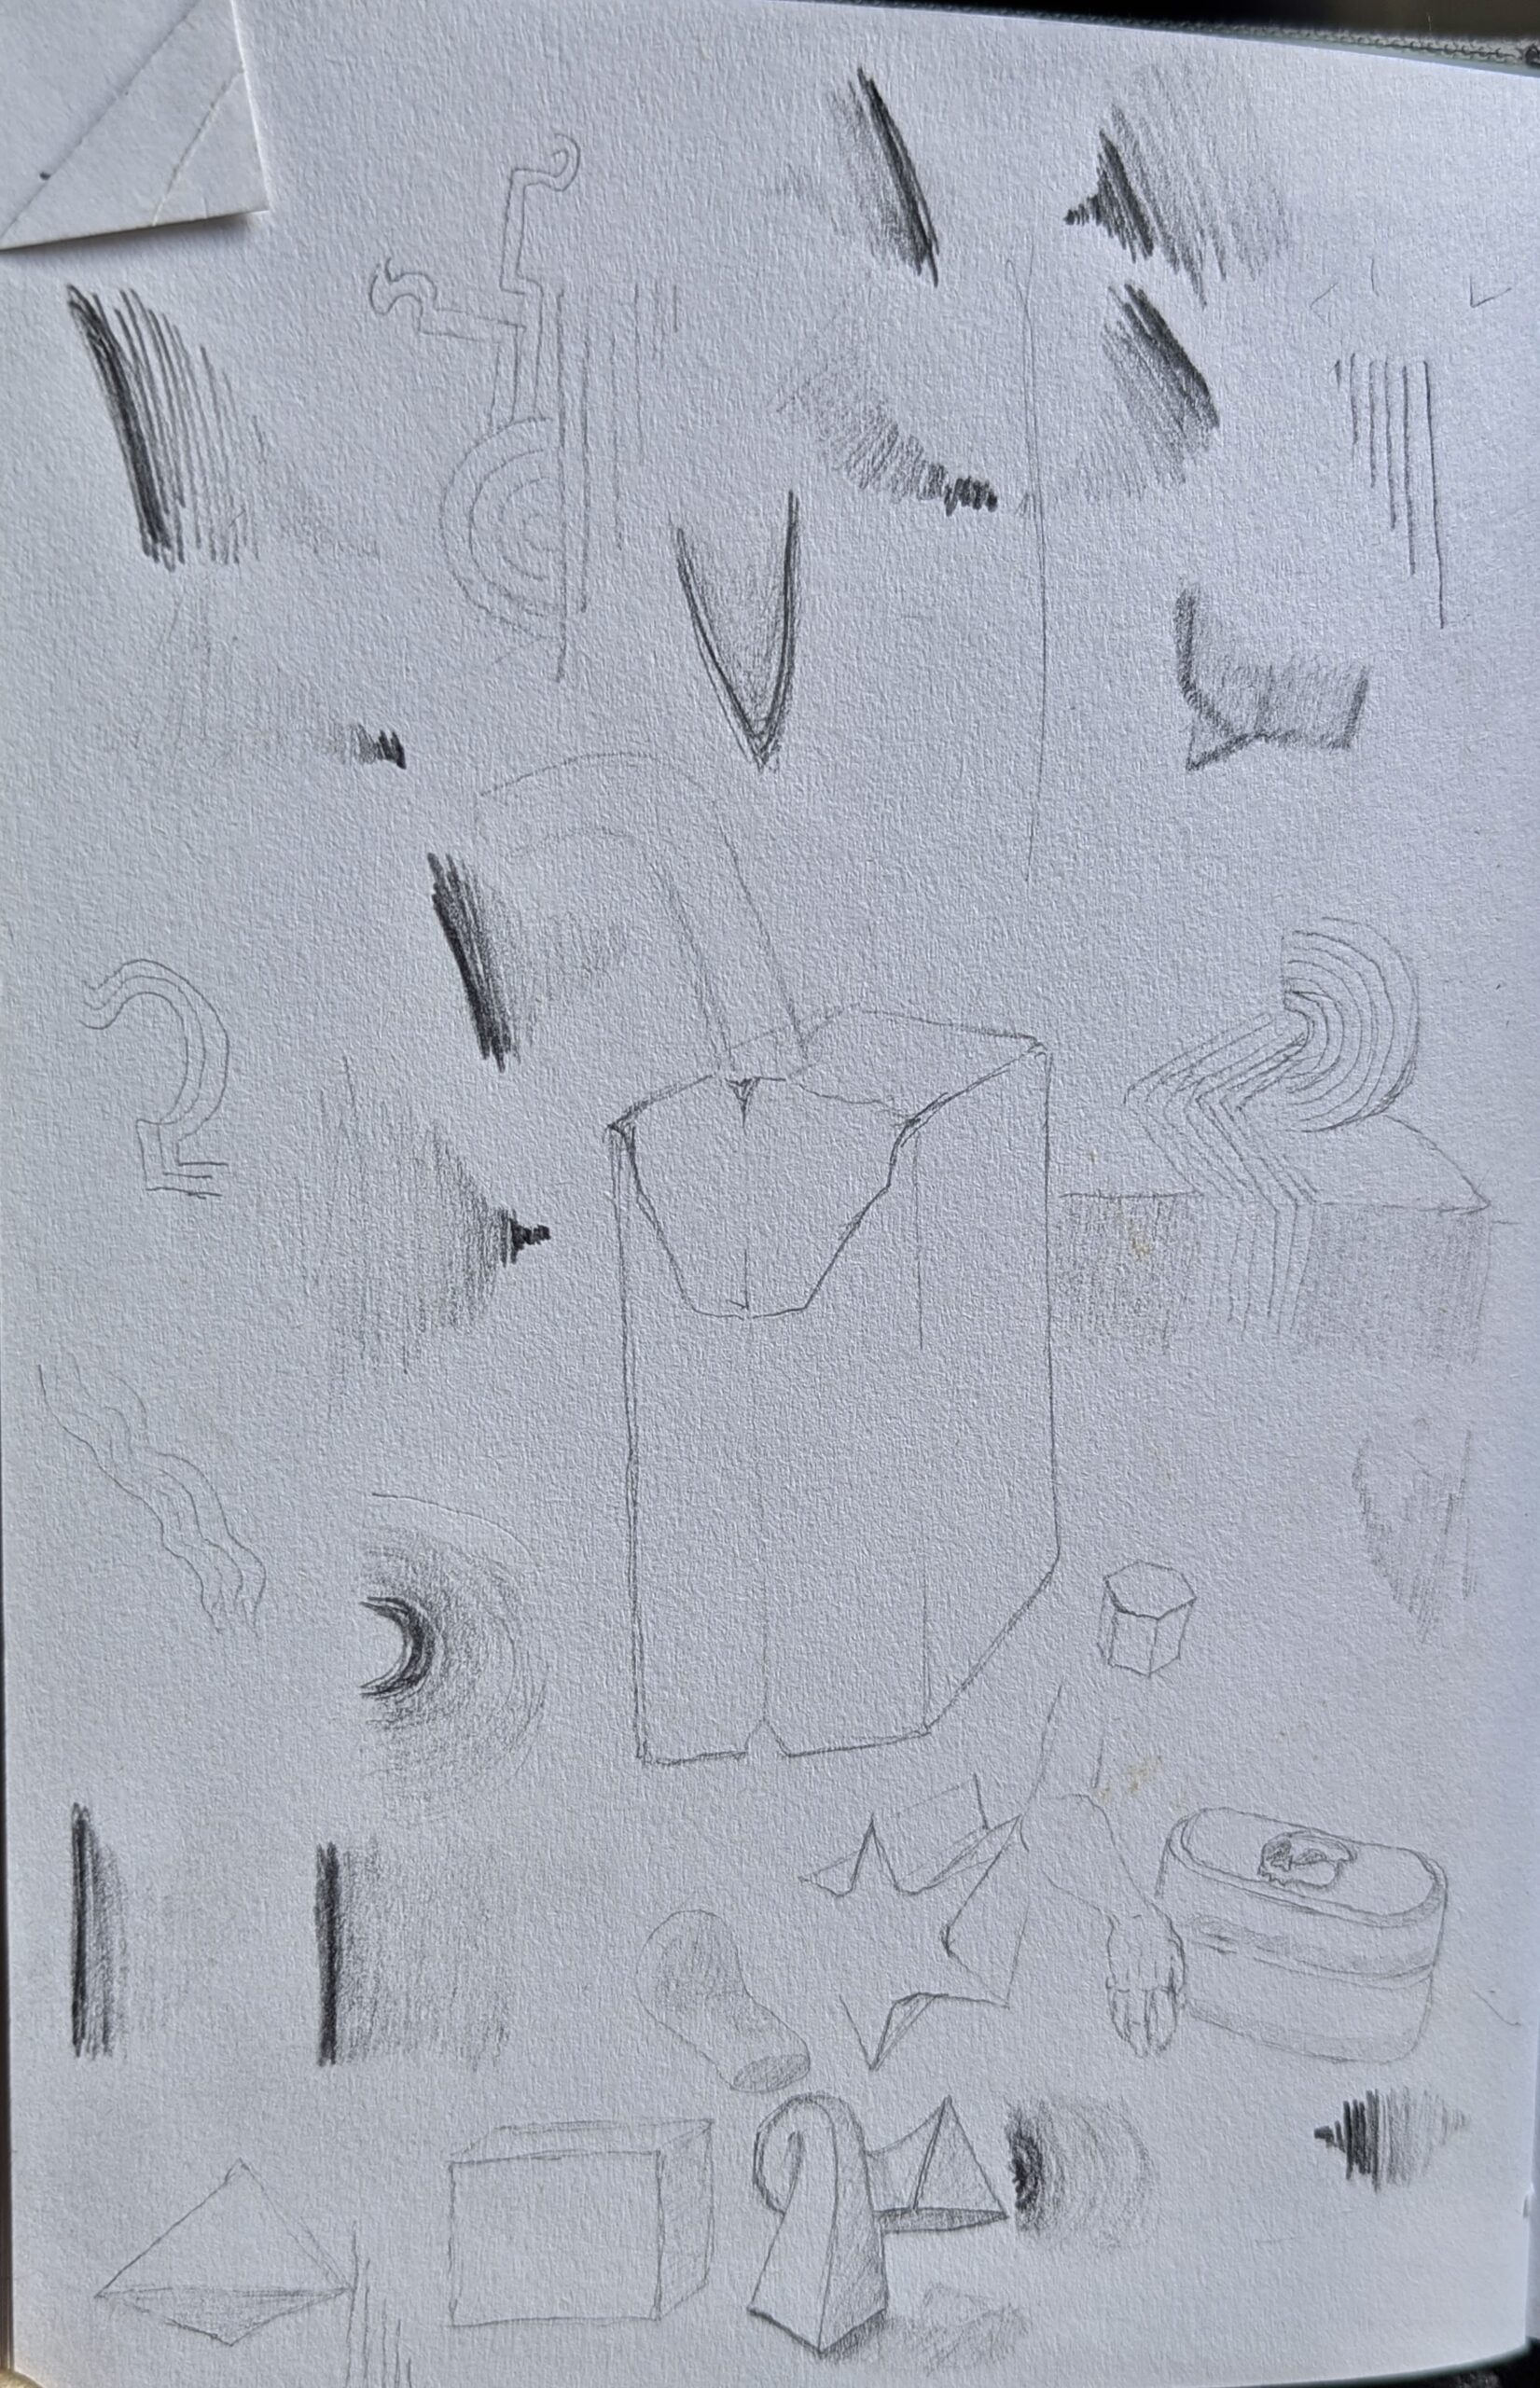
If you’ve read the very first lesson (first of all, I appreciate you), I’d like to add a a bit more depth and variation to the initial exercise examples. A part of me regrets not working on it longer; since these two first exercises are basically the most important, being the foundation for your ability to apply the ones after. But here we are, so I hope that these personal examples below can add a bit more understanding of the true versatility of these exercises.
Speaking of greater understanding of these, you may notice a specific couple of sketches in the page of examples above, with a small note saying “wall-to-wall” pointing to them. These are exercises I had on my mind, but hadn’t yet refined them by the time of posting the first lesson on here. I wanted to add them here as they act as a great doorway to mastering 2D shapes in the “2nd Method” that comes after.

METHOD 2
This brings us now to our second methods of practice. These are where our Shape Up lesson series begins; these exercises usher in the perception of shape from the lines we’ve been training our hand with. The first couple of exercise methods in this section are pretty self explanatory, and as I mentioned are simply an exercise in our Visual Memory. However, it is still important to perform these exercises intentionally to achieve the best benefit. Especially if new to drawing, it it’s important to also continually practice one’s control over their line weight and to draw all things lightly and slowly first. These exercises will eventually be easy hand warm ups as we progress in our skills.

Despite their simple nature, these exercises should never be underestimated as they are foundational. Especially with 3D shapes (Lesson 3, part 1 exercises) that may give you trouble, it can be helpful to double back to these exercises with the same 2D shapes (especially E2 [Lesson 2]). As always, try to be as creative as possible with the application of them (if ideas don’t come to you, remember the basic directions, up, down, left, right, and diagonally can always be applied to cover the basics.)
Next is the second part of our Shape Up lesson series, moving into not just understanding these foundational shapes in 3D, but changing them at will. Exercise 4 (Lesson 3, part 2) of our second methods does just that; using the parallelism “rule” stated in Shape Up part 1, we add a curved “guideline” this time as a point of reference to superimpose onto our shapes (only onto the lines parallel to that “guideline”).

Exercise 5 (Lesson 3, part 2 and 3) brings us to the curved members of our fundamental 3D shapes, the Sphere, Ellipsoid, Cylinder, and Cone. Using Contour, also known as Wrapping Lines, we are able to make visible and explicit the curves of these shapes, and any others, that would otherwise be invisible (without use of advanced techniques). The beauty of this is that Contour also follows the same “rules” of parallelism; these inner wrapping lines will typically match the outer silhouette that that shape, providing a consistent point of reference. This means no measuring of angles or understanding the bending of light is necessary to draw a believable 3D curve (and thus when these things come later, they’ll only be a help to our obtained skills). Exercise 5, Cube + String examples are below.

The next, and last of the M2 exercises begins the most advanced comprehension of 3D shape and form we can have before diving into Light and Perspective techniques. Deemed the Sculpting 2 exercises, these are also the 4th, and most recent lesson installment. With these exercises we do indeed “take up the chisel” and begin to “sculpt” the appearance of most 3D objects at will. This Sculpting 2 exercise method is broken into three attributes of appearance any 3D form can have: Bevels, Concave forms, and Convex forms.

As we look at the Bevel examples above, you’ll notice that all Bevels are generally some version of a curve. And as stated in the written notes on the same page, the Contour lines are a big key in perceiving and understanding the overall form of what makes an object a Bevel. On the top right portion of the page, you’ll notice a quickly scribbled “var. of Rectangle or Triangle.” To be more specific, Bevels are variations of Rectangular and Triangular Prisms, typically. Practicing by intentionally drawing as many directional versions of these, with the accompanying contour lines, will crystallize these forms in our Visual Memory.


The next applied example for our 2nd Method are the Concave variations of our fundamental shapes and forms. It is important to note that though we are working intentionally to make this learning process feel as intuitive as possible, we must except that the higher we climb this mountain of a journey, the difficulty will definitely also increase. This cannot be a point of discouragement; in fact, it is encouraging as it means our process of growth will continue. This is demonstrated in a few of my notes on the pages above and below, as I was unsure of the quality of a couple of the drawings. “3 tries,” “is it right?”, “not quite,” and “should’ve used guideline,” are comments that allow our analytical side to shine and do its job to the fullest. Notes like these, though they may briefly hurt the ego, will be the stepping stones of our consistent improvement.


One more quick important point I’d like to make here is that you should not expect your first few sessions of practicing these methods to look like how mine look. If they do, that’s great. But I have many years of experienced practice behind me before making these examples. As I mentioned in Lesson 4, my adding of shading to these concave forms to intensify their believability is something someone just starting out would not know how to do. So if you reading are one of those just starting, do not fret, you will for sure get there, and sooner than you think. We are just a couple sets of methods away from covering Light and Shadow, after all! Feel free, however, to attempt what I’ve done in these examples on your own even before we get there!

And last but certainly not least, the third part of our “Sculpting 2” exercises; the examples of convex forms combined with the fundamental 3D shapes/forms, shown above. Again, like with the previous examples, I used a good amount of my current experience to create a few of these. Do your best to keep it simple, at least at the start, to build the proper “reps” with these exercises. You’ll be doing the same before you know it.


To conclude this gallery of applied practices, I’d like to direct our attention to these examples and notes on the far right of the above page. In the third photo down, we can see a simple convex form with cross contouring stretched across the stacked round cone and cube-like shape on top. Just below it is the process of a convex form made of an egg shape stacked inside of a cube shape. These three specific photos might just be the most important of this entire gallery. They demonstrate that the exercises we’ve been doing up to this point have done the exact job that we’ve chosen them to do. They’ve evolved together to integrate into a process of perceiving, and as a result, creating the appearance of forms.
First sketch at the top, we see both the silhouettes and the contours of each object, drawn very lightly (Lesson 1, Line Weight and Lesson 3 part 3, Contouring).
Second sketch down, we see darker, heavier lines traced across the previous lighter lines that are parallel to each other and the matching contours of each shape (Lesson 1, Starting Line; Lesson 2&3 Shape Up 2D&3D).
Third sketch down, shows another finished version of the previous Convex form, with a slightly differently shapes egg at the top, and a different version of Cross-Contour (Lesson 3, part 3) and Overlap (a concept we’ll go over exercises for in the next set of Methods!). And of course these finished forms make up our most recent Lesson 4 practice, as they are versions of Convex forms also.
CONCLUSION
With that, we will wrap up our first Applied Practices section on the blog. Again, sit back and take a look at all the work you’ve put in with these, and how genuinely far you’ve come in your skills. I hope that you also become aware, as I have, that it didn’t take as long as you expected to make such obvious improvements. I believe we will for sure reach our goal, but we must make sure to make full acknowledgment of our progress as we go; I believe progress is the most motivating part of the process of practicing anything .
Until next time, enjoy a little bonus gallery of some exercises, sketches, and artworks of mine. I hope they can provide at least a little bit of inspiration. Let’s keep growing and creating our world better and better together.


