So, who’s ready for more Geometry!?
Obviously, if you’ve read Lesson 2 (which I reccomend before coming to this one) then you know Geometry here is a good thing. However, this time it gets even better; because now not only are we not doing any mathematics, but this time we’re not even bothering with history either! And as the title describes, we’re moving into the the Third Dimension today. Don’t worry, 3D may be intimidating, but it just requires a good foundation of shape and perspective, which we’ve hopefully started to see the fruits of by now, after the exercises in the previous lesson.
So, without further delay, let’s jump right in!
KEY TERMS

RECAP

To pick up where we left off; in the last lesson we conclued by modifying the foundational 2D shapes we all (should) know well, adding various slants and angles to each shape to simulate the rotating of “faces” or planes, as shown above. Again, it shouldn’t take a very high amount of time or quantity of practicing these to gain a solid hold of them (by this I mean confidently drawing most of these shapes and their different slant possibilities without reference).
THIRD DIMENSION

Now we’ll enter into that “scarier” part of drawing! And before those fears begin to creep in more (I know, they’re already there), I want to reiterate that this website, and all lessons are created to be an evolving system of practice; each and every lesson, discussion, and idea should build off of each other like a ladder. With each step higher, it becomes not only easier to see the top, but reach it as well. So, have no fear here, we are ready for this level. The third dimension is not scary, in fact, it’s where we live.
So, let’s look back at our previous slant exercise and start simple; we’ll begin with the equilateral Triangle (all corners are the same angle).
Go ahead and open a page you’ve already drawn slants for with this shape, and try to find one from the same or a similar angle as the ones I have below. Then, all we’re gonna do is take the mirrored version of that (flipped horizontally the other direction) and place them together evenly. If done properly, it should look like the example below!

If you’ve been paying close attention to our last example here, you might notice that all we just did was place matching sides of the 2D shape together, like a puzzle; in this case, they make a pyramid, seen from an angle! This can be done with the next two examples of the Cube and Rhombs below as well!

Now, it would be nice if every 3D form and Prism can be “pieced together” in this manner, but unfortunately only the equilateral shapes shown above can be built in such a way. It is worthwhile, in my opinion, as a side exercise to see how many versions of these kinds of 3D shapes you can come up with as well. But they are a great intro into this sense of Depth Perception we all possess. For the rest of the fundamental shapes, however, we will use a little different approach.
FUNDAMENTAL PRISMS

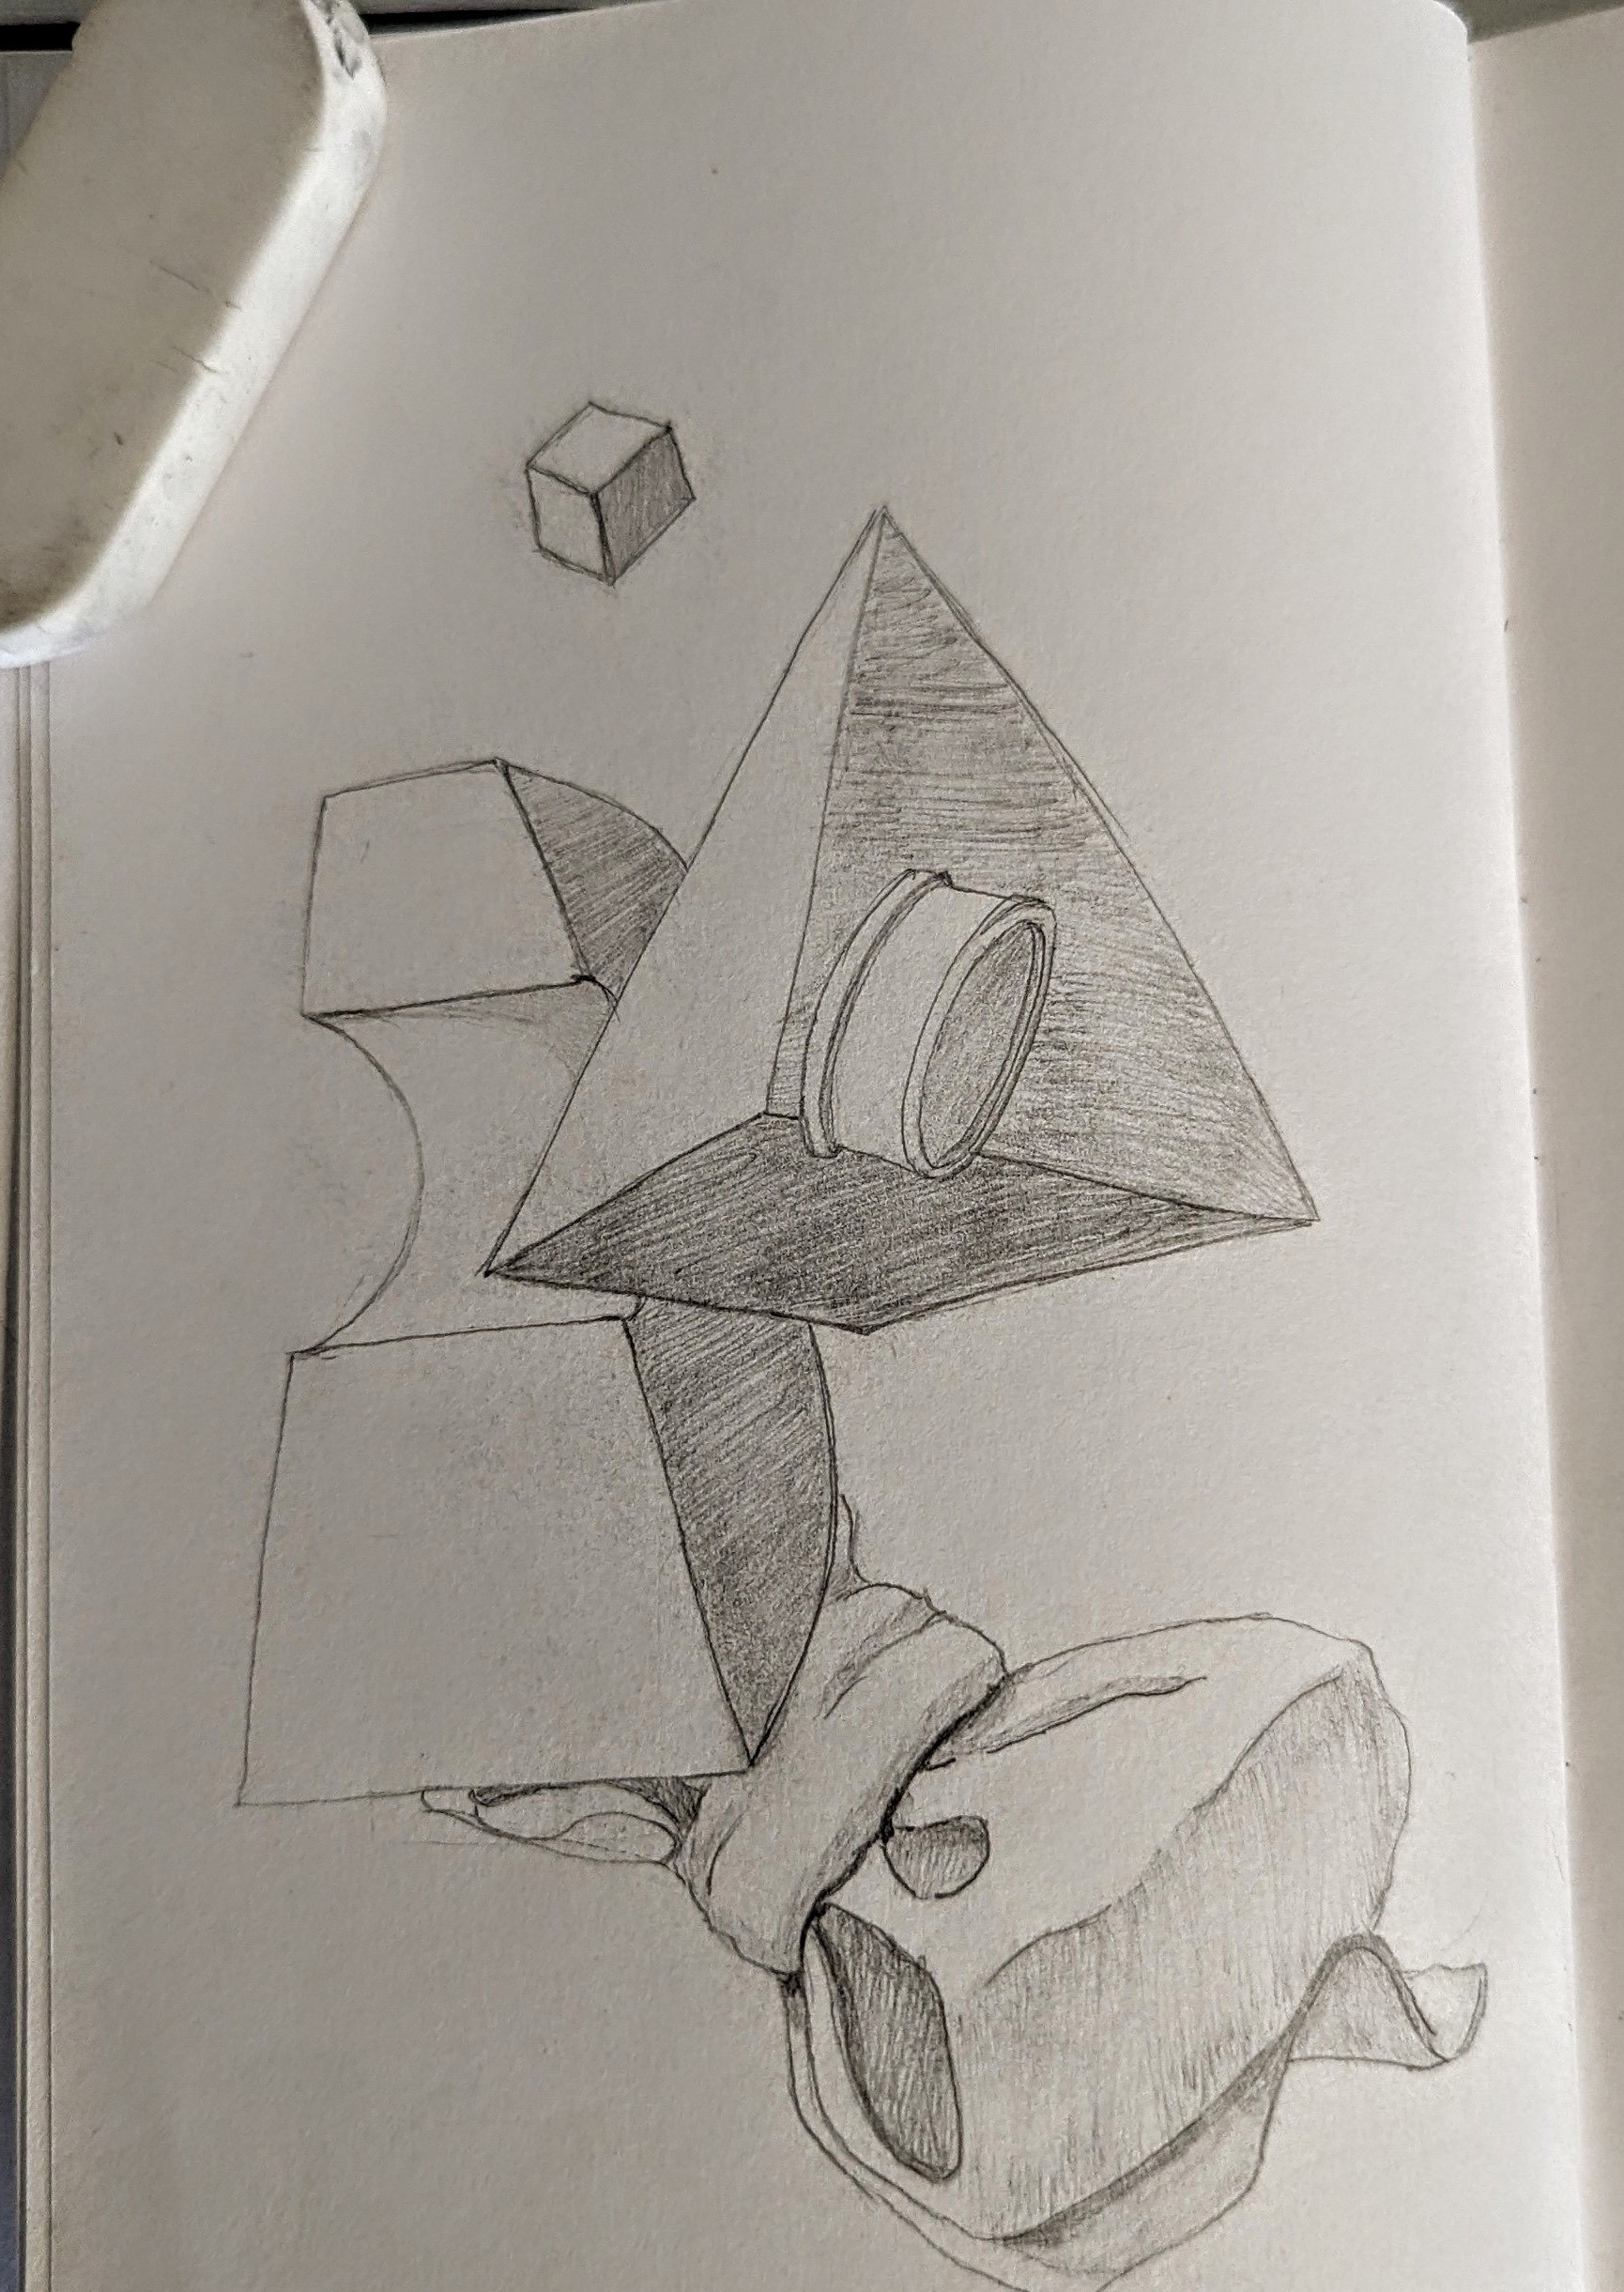
Above is the list of some more of these Fundamental 3D prisms, minus a couple more that we’ll cover right after this lesson. These are some 3D versions of what we saw in the previous lesson (“Shape Up 2D”); they now include the Rectangle, Rhombus, Triangle variations, Hexagon, Pentagon, Octagon, and Trapezoid.
Before we dive into drawing these shapes, it would help to revisit the concepts from our previous lessons; as mentioned, these concepts build upon each other to evolve with the artist’s increased understanding and perception. First, are the concepts of the “Growing Line” and “Line Weight” warm-up exercises. These exercises help to reinforce, both mentally and physically, our ability to draw long, straight, bent, and curved parallel lines consistently, as well as control the pressure we apply to the page or canvas with our tool (graphite/hand, in this case). A solid grasp of these previous skills will greatly help us in the exercises coming up.
METHODS OF CONSTRUCTION

With a helpful method of construction, 3D objects and shapes can be made simpler to understand. We will use such a method, as shown above. Using the example of the cube- seemingly the most digestable of 3D images-and with a bit of color-coding, we can see the makings of a simple 4 part process for drawing majority of 3D shapes.
First, as denoted by the numerical order, each color (black, then turqoise, then red) coincides with what we’ll call the “Order of Lines.” This specific method is not an orthodoxy (dogma, or ritual). It is not the right way, but a right way. The sequencing of this method should not be followed religiously; in other words, if you can do it more comfortably and faster out of this specific order, then do so. However, when just starting out with this concept, such structure can be very useful to not exhaust mental energy on the preparation of drawing, before actually drawing (similar to what is considered “choice paralysis”).
Second, not only does the color convey order, but the arrows themselves also communicate direction of those lines. If we look closely, we’ll see each arrow is starting from an already drawn point, typically a corner. Because all art is contexual, it is necessary to maintain that sense of “the big picture” at the front of mind throughout the process. To do so, this practice of using the already drawn portions as anchors, or points of reference, is very useful for helping maintain overall proportions.
Third, it is worth mentioning again that the natural perception of parallel lines should be developing from the previously mentioned “Growing Line” warm-up exercise, as well as the “Line Weight” exercsies, especially from every angle and direction mentioned in “Lesson 1 – Staring Line”. Again, if you feel as though you are not able to practice the current methods comfortably, it may be wise to step back into these first exercises (linked below), as they are foundational.
Lastly, the above mentioned “weight” of these lines is shown here in the examples themselves. The lighter, less opaque, grey lines (turqoise arrows) are used first, then traced over with the heavier, darker lines on top (red arrows), apart from the intial plane being darker right off the bat. This intial plane, or “face,” is drawn this way as the original point of reference for said shape. Now that we have an understanding of how to read these methods, lets look at the rest of the fundamental 3D shapes below with that cube.

Just like with the exercises from the previous lessons, these above should be done with repetition in mind as the goal. Just as we have done with the slants, we want these 3D shapes to be an automatic part of our visual memory (mental library of images). Unlike the slants exercises, however, you may have noticed I’ve only added a couple of different options of perspectives for these 3D shapes. Mainly this was done for the sake of time, but each slanted 2D shape can be made 3D, and so the previous exercise acts as a springboard for the 3D exercises, especially when ideas for practice feel slim.
ALTERNATIVE METHODS
Now, before we close out this lesson, I wanted to briefly bring attention to some helpful accessories to this specific learning method. When starting out on this exercise, a guideline can be useful to get the gears moving. Below is literally that; in this case our guideline is used to designate the orientation (something we’ll touch on in later perspective studies) and even size of your drawn 3D objects. As shown below, the guideline (circled in the turqoise) is something we can draw above the intial “face” of your 3D shape, which then can be used to denote the connecting planes’ (“faces”) direction. It is important to note here that as we start the second step of this construction exercise, those next lines should be parallel to the guidline above them..

Another helpful tool for this practice method can be especially useful when shapes like these prisms have many planes on them, like a Pentagon or Hexagon, for example. Shown below is good when trying to depict one of these 3D shapes from a visually uncomfortable view; the shape is drawn out one plane at a time, instead of around its perimeter, line-by-line. This gives a larger point of reference to be able to start the desired image from. The diagram below demonstrates this, keeping the same “order of lines” system used in the first cube example.

Our last helpful tool is more for peace of mind than for conscious use. In the last lesson we went over thinking of geometry being more about mass than measure when it comes to drawing. Measure, however, does have its place in art, and this is its start. When we look at the top left of the diagram, we’ll see (as the eye indicates) that one of the lines of the rectangle is not aligned parallel with the others. Now, after noticing this most of us would quickly fix this error, but some shapes are not as easy to notice these things. With this being the case, this is another reason we want to make use of our application of line weight. As shown below, if we continue through the “order of lines” process, and keep our lines as parallel as possible to each other, we eventually will recognize exactly where those lines should be oriented. Once done, dark, “weightier” lines can simply be traced over these faulty lines, and the previous mistake goes unnoticed.

This demonstrates one of the most important lessons when it comes to making art; follow the process. When we follow all the way through, regardless of our feelings of self-doubt (which are guaranteed and inescapable) the art will reveal itself. Art is is self-reflective, and therefore self-correcting. Always follow through.
As we conclude this lesson, you might have noticed some other important 3D objects missing from this lesson. We will be covering those with a part 2 very soon! They will be our 3D shapes with curved planes, what we will refer to here as Forms. They’ll be the sphere, cylinder, and other variations! For now though, there is plenty to practice, learn and explore in the flat planes of three dimensions.
AND HERE BEGINS OUR ADVENTURE

With that we will end today’s lesson. As covered before, these methods of practice work more like exercises than anything else. Make sure you get in your reps and sets, either as a warm-up before beginning your preferred artworks, or after. This step into the 3D percption is where our real adventure truly begins. From here on we will be diving deeper into the concepts of depth, perspective, light, and eventually color. Sailing on a sturdy ship of our methods, across a vast, unknowable sea of possibilities, imagination will be the wind in our sails.
THE ANWER IS NOT WITHIN YOU, THE ANSWER IS YOU
2 responses to “– LESSON 3: SHAPE UP (3D) PT. 1 –”
Nice share!
Thank you! Glad you liked it 🙂